
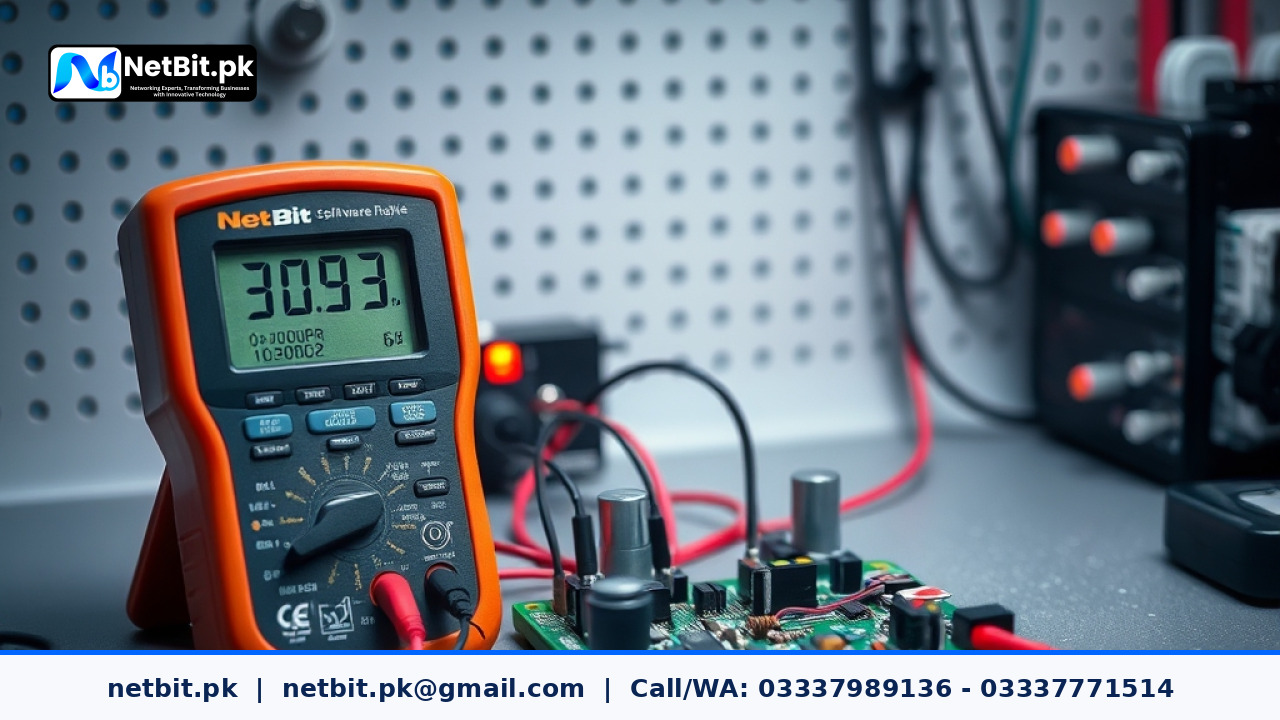
Introduction to Analog Sensor Calibration
Analog sensors play a vital role in capturing physical data such as temperature, pressure, or light levels for custom electronic monitoring units. Over time, physical wear, electrical noise, and component aging can lead to measurement drift. Proper calibration ensures that your custom hardware accurately translates raw voltage inputs into meaningful engineering units.
At NetBit, our team frequently helps technical users and organizations fine-grain their specialized hardware installations. Whether you are managing an experimental prototype or a specialized industrial setup, following a structured calibration routine prevents false readings and maintains system reliability.
Preparation and Required Tools
Before beginning the calibration process, gather the necessary equipment and verify your workspace safety. Working with electronic hardware requires precision and care to prevent accidental damage to sensitive components.
- A calibrated digital multimeter for accurate voltage measurement.
- A stable regulated power supply matching your circuit specifications.
- Reference standards or known calibration benchmarks (e.g., a calibrated thermometer for temperature sensors).
- Hand tools and proper insulation gear.
- Netbit software or local serial terminal software to monitor real-time sensor outputs.
Step 1: Measuring Baseline Zero Voltage
The first step in any reliable calibration procedure is establishing a clean baseline, commonly referred to as the zero point. Disconnect the sensor from any active physical stimulus or place it in its baseline state (such as room temperature or zero applied pressure).
- Power on your monitoring circuit and allow it a warm-up period of at least ten minutes to stabilize internal temperatures.
- Connect your digital multimeter probes across the sensor output ground and signal terminals.
- Record the idle voltage value shown on your multimeter.
- Compare this baseline reading against the expected manufacturer baseline specification. If the variance is substantial, adjust your offset potentiometer or update the baseline calibration variable inside your firmware configuration.
Step 2: Applying Upper Span Reference Limits
Once the zero baseline is locked in, you must verify and calibrate the upper span limit. This ensures your custom monitoring unit scales accurately across its entire operating range.
- Apply a known maximum physical stimulus to the sensor (for instance, a specific reference temperature or calibrated test pressure).
- Measure the resulting output voltage using your multimeter.
- Verify that the voltage level does not exceed the maximum analog-to-digital converter threshold of your microcontroller or interface board.
- Record the exact measured voltage corresponding to the upper span limit.
Step 3: Calculating and Applying Conversion Factors
With both your lower baseline and upper span values recorded, you can calculate the precise scaling factor required for your monitoring software. Divide the known physical span value by the measured voltage difference to determine your conversion multiplier.
Input these newly calculated slope and offset values into your control script or firmware parameters. Netbit tech software house specialists recommend documenting these calibration constants in a local configuration log for future auditing and maintenance cycles.
Step 4: Performing Final Verification Tests
Never skip the verification stage after adjusting calibration parameters. Test your custom electronic monitoring unit across multiple intermediate points between your zero baseline and upper span limit. Observe the output data on your terminal screen via netbit.pk resources or local debugging tools to confirm linear response and stability.
If you notice non-linear behavior or erratic signal fluctuations, inspect your wiring harness for loose connections, electromagnetic interference, or ground loops. Shielded cabling and proper grounding significantly improve measurement accuracy in challenging environments.
Partner with NetBit Tech for Custom Hardware Solutions
Precision calibration and custom electronic integration require consistent attention to detail and reliable engineering support. If your organization is ready to optimize specialized hardware projects, streamline data acquisition workflows, and elevate overall system performance, we are here to help you achieve your technical goals. Contact Netbit tech and software house today to discuss your upcoming project requirements with our expert team and become a valued client.


Reader comments.
Share your question, suggestion or experience related to this article.
No comments yet
There are no approved comments on this article yet. You can be the first person to leave one.