
Understanding Wide Dynamic Range in Commercial Surveillance
Securing a business premises in Pakistan often presents unique lighting challenges. Whether it is a retail storefront facing harsh sunlight in Khuzdar or an indoor warehouse with bright exterior windows and dark interior corners, standard security cameras frequently struggle to capture clear details. When a camera faces high-contrast lighting, the brighter areas wash out into pure white, while darker areas submerge into pitch black. This limitation makes it difficult to recognize faces, read vehicle license plates, or monitor sensitive inventory.
Wide Dynamic Range (WDR) is a camera feature designed to solve this exact problem. By balancing the brightest and darkest parts of a digital image, WDR ensures that every corner of the surveillance frame remains clearly visible. At netbit, our technical teams frequently help local businesses optimize their camera settings to ensure robust physical security around the clock.
Why High-Contrast Lighting Breaks Standard Cameras
Standard electronic image sensors measure light on a fixed scale. When sunlight pours through a glass entrance or an open warehouse shutter, the sensor adjusts its exposure to the brightest light source. Consequently, anyone stepping into the doorway appears merely as a dark silhouette. Conversely, if the sensor adjusts for the darker interior, the exterior view turns into an unreadable blinding glare.
In commercial environments, missing a crucial detail due to poor lighting balance can compromise security investigations. Implementing proper WDR configurations ensures that your security recording system captures usable, forensic-grade footage regardless of changing outdoor lighting conditions throughout the day.
How to Properly Configure WDR Settings
Configuring WDR requires a balanced approach depending on the specific environment of your commercial property. Follow this step-by-step procedure to adjust your security camera system effectively:
- Access the NVR/DVR Interface: Log into your recording system using an administrative account via a desktop application or a direct monitor connection.
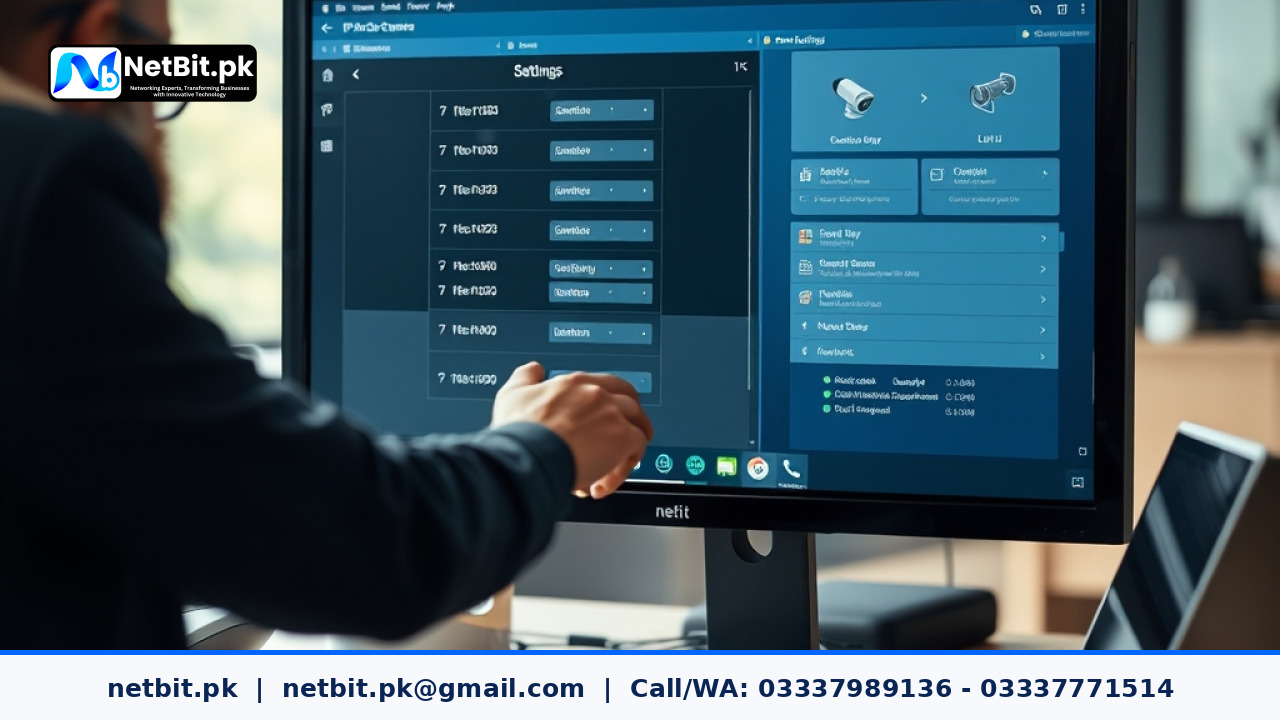
- Navigate to Camera Image Settings: Select the specific camera channel pointing toward high-contrast areas (such as entrances, gates, or large windows) and open the Exposure or Image Adjustment menu.
- Locate the WDR or DWDR Toggle: Identify whether your camera supports true hardware-based WDR (Sensor-based) or Digital WDR (Software-based). True WDR takes multiple exposures at different shutter speeds and combines them, while DWDR digitally brightens dark areas and darkens bright areas.
- Adjust the WDR Level Gradually: If your camera features adjustable WDR intensity levels (typically ranging from 1 to 100), start at a moderate setting around 50. Avoid turning it to the maximum instantly, as excessive WDR can introduce digital noise, graininess, or unnatural halo effects around moving objects.
- Test Under Real-World Conditions: Perform a live test during peak sunlight hours. Have a staff member walk through the entrance while observing the live feed to ensure facial features remain clear without motion blur or excessive washing out.
Hardware WDR vs. Digital WDR
When upgrading or installing a new surveillance network, understanding the difference between hardware WDR (often measured in decibels, such as 120dB) and software Digital WDR is vital. Hardware WDR utilizes advanced image sensors to capture multiple frames simultaneously, delivering superior clarity in extreme lighting scenarios. Digital WDR is more cost-effective but relies entirely on software algorithms, which can sometimes reduce overall image sharpness. Consulting with professionals at netbit tech helps ensure you deploy the right hardware specifications for your specific facility layout.
Best Practices for Placement and Optimization
Beyond software settings, physical placement plays a critical role in maximizing the effectiveness of WDR-enabled cameras:
- Minimize Direct Backlighting: Whenever possible, angle cameras downward and inward rather than pointing them directly outward toward bright open skies.
- Pair with Proper Networking Gear: Ensure your IP cameras receive stable data transmission through reliable network switches and properly terminated Cat6 cabling to prevent packet loss or video latency during high-resolution streaming.
- Perform Regular Maintenance: Dust, smog, and monsoonal grit can accumulate on outdoor camera lenses, scattering light and reducing the effectiveness of WDR algorithms. Schedule routine cleaning and IT maintenance to keep lenses pristine.
Partner with Netbit for Comprehensive IT and Security Solutions
A reliable security setup is only as strong as the infrastructure supporting it. Beyond advanced CCTV configurations, netbit software house delivers comprehensive technology solutions tailored for modern businesses. From custom web applications and mobile apps to robust networking infrastructure—including switches, Cat6 cabling, fiber patch cords, LiteBeam, and PowerBeam installations—our team ensures your entire digital and physical ecosystem operates seamlessly.
Ready to upgrade your office security and network reliability? Contact netbit khuzdar today to consult with our experienced technicians and discover professional solutions designed to protect and empower your business operations.



Reader comments.
Share your question, suggestion or experience related to this article.
No comments yet
There are no approved comments on this article yet. You can be the first person to leave one.