
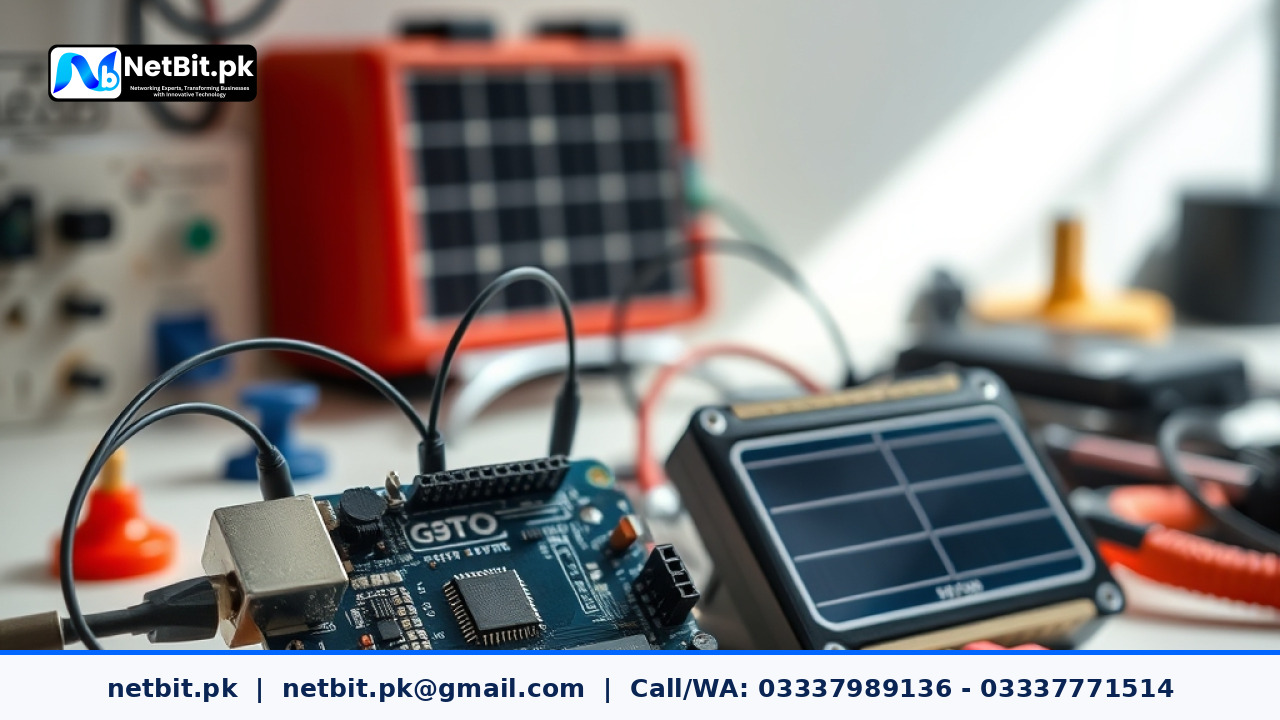
Introduction to Off-Grid Power Management
Working with custom electronics and microcontrollers often requires a reliable, independent power source, especially for remote installations. Integrating a custom solar charge controller with an Arduino board allows you to monitor energy harvesting, manage battery charging cycles, and power your devices efficiently without relying on standard grid electricity. Whether you are building an automated weather station or an experimental sensor node, mastering this integration ensures long-term system stability.
Understanding Solar Charge Controller Basics
A solar charge controller acts as the gatekeeper between your solar panels and your energy storage batteries. Its primary job is to regulate voltage and current coming from the panels to prevent overcharging and extend battery lifespan. In custom hardware projects, interfacing a controller with a microcontroller involves reading analog voltage levels, tracking charging states, and protecting sensitive circuitry from sudden power spikes.
Step-by-Step Hardware Intergration
Proper wiring and component selection are critical when combining solar components with digital microcontrollers. Follow these practical steps to set up your hardware safely:
- Verify Voltage Compatibility: Ensure your solar charge controller provides a regulated 5V or 3.3V logic output, or use a dedicated voltage divider circuit to step down higher sensor voltages safely before they reach your Arduino analog pins.
- Establish Common Ground: Connect the ground of your solar system to the ground of your microcontroller to ensure accurate analog readings and prevent floating voltage errors.
- Incorporate Fuse Protection: Always install a low-amperage inline fuse between the power source and your development board to prevent accidental short circuits from damaging your microcontroller.
- Use Optocouplers for Isolation: For higher voltage systems, implement optocouplers to isolate the high-power charging circuit from your low-power digital control logic.
Writing and Uploading Monitoring Code
Once your physical circuit is securely assembled, you can write simple firmware to monitor your power stats. Using basic analog read functions, you can track panel output voltage, battery charge percentage, and system load current in real time. Always test your code using a regulated bench power supply before connecting actual solar panels to prevent unexpected hardware damage during initial debugging phases.
Ready to Elevate Your Custom Technology Projects?
Developing dependable off-grid hardware requires precise engineering, robust coding, and professional execution. If you need expert assistance with custom microcontroller integration, power management systems, or specialized electronic prototypes, the team at NetBit tech and software house is ready to help you bring your ideas to life. Contact us today to collaborate on your next project and become a valued client of NetBit tech and software house.


Reader comments.
Share your question, suggestion or experience related to this article.
No comments yet
There are no approved comments on this article yet. You can be the first person to leave one.