
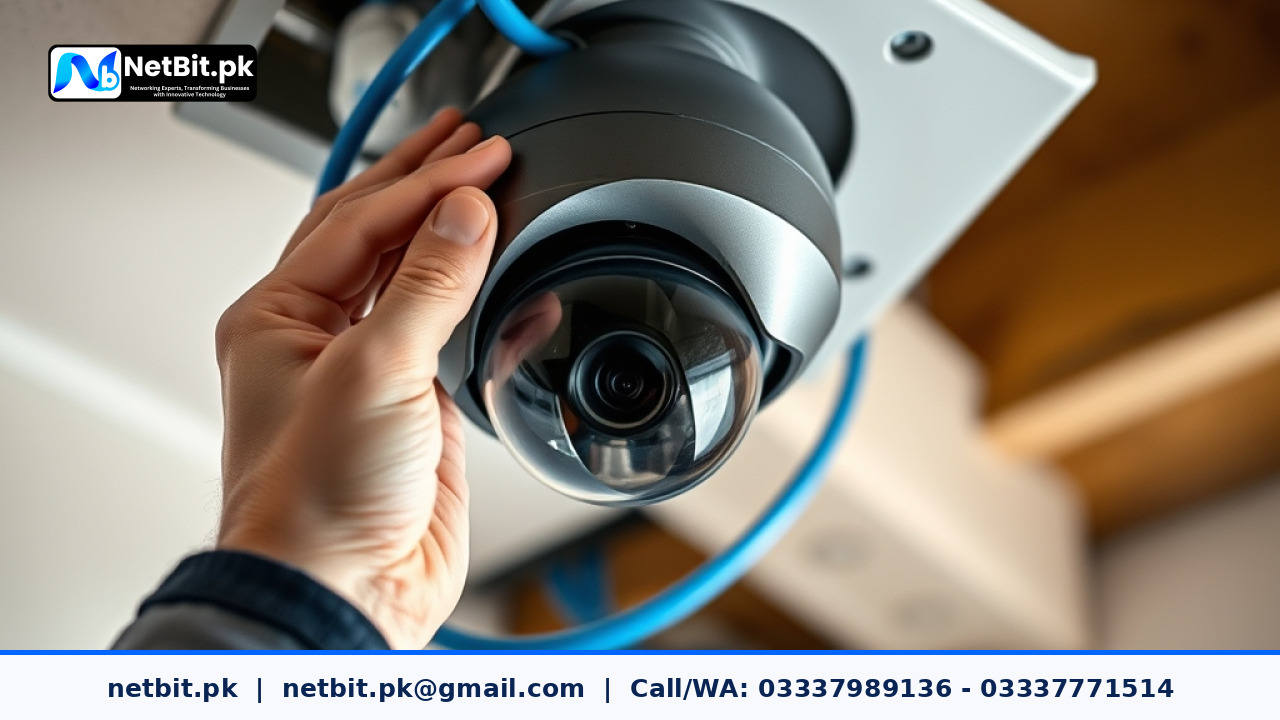
Installing an IP CCTV security system is one of the most effective steps you can take to protect your office, warehouse, retail store, or residence. However, many security system owners in Pakistan face a common issue after installation: a constant flood of false motion alerts. When every passing car headlight, swaying tree branch, or flying insect triggers a notification, users often end up disabling alerts entirely, leaving their property vulnerable.
By learning how to properly configure motion detection zones and sensitivity settings inside your Network Video Recorder (NVR) or standalone IP camera interface, you can eliminate false alarms, conserve valuable hard drive storage, and ensure that your security system alerts you only when real security events occur.
Understanding How IP Camera Motion Detection Works
Unlike physical intrusion alarms that rely on passive infrared (PIR) body-heat sensors, standard IP CCTV cameras use pixel-based video analytics to detect motion. The camera's processor constantly compares successive video frames. When a specific percentage of pixels changes color, brightness, or position between frames, the firmware registers this change as motion.
Because pixel changes drive this process, environmental factors frequently cause accidental triggers. Sunlight shifting through a window, wind blowing hanging signs, rain drops reflected in infrared lights, or street traffic can all register as movement. Configuring customized detection zones allows you to instruct the camera's software to evaluate only specific critical regions within its field of view while ignoring background activity.
Step-by-Step Guide to Setting Up Motion Detection Zones
Configuring motion zones requires accessing your NVR or IP camera through a web browser on a local computer or through the official NVR management software. Follow these practical steps to configure your cameras correctly:
Step 1: Access the Camera or NVR Configuration Panel
Open a web browser on a laptop connected to the same local area network (LAN) as your security system. Enter the IP address of your camera or NVR into the browser address bar. Log in using your administrative credentials and navigate to the Event Management or Motion Detection menu under settings.
Step 2: Draw Custom Grid Overlay Boundaries
Inside the motion setup screen, you will see a live video feed covered by a grid overlay composed of small red or transparent squares. By default, most systems select the entire grid, meaning the whole camera view monitors for movement.
Use your mouse to clear the grid from areas with routine non-threatening activity. Clear the red highlighting over:
- Public footpaths and roads outside your perimeter fence or doorway.
- Trees, shrubs, and potted plants that move in the wind.
- Air conditioner outdoor compressors and ventilation fans.
- Reflective surfaces such as tin roofs or glass windows.
Keep the grid highlighted strictly over high-priority target zones, such as main entrance doors, boundary wall tops, cash counters, server rack accesses, and parking slots.
Step 3: Fine-Tune Sensitivity and Threshold Values
Most IP surveillance interfaces provide two distinct slider controls: Sensitivity and Threshold (sometimes called Target Size).
- Sensitivity: Controls how noticeable a pixel change must be to trigger an alarm. Setting this too high (above 80) causes light changes and night noise to trigger recording. For general outdoor use in Pakistan, a sensitivity level between 40 and 60 works reliably.
- Threshold: Determines the physical size of the moving object required to initiate detection. A lower threshold detects small objects like cats or birds, while a higher threshold requires an object the size of a human or vehicle to trigger an event.
Step 4: Configure Detection Time Schedules
Do not rely on the same sensitivity rules 24 hours a day. Set up automated schedules in the NVR settings interface. For instance, during business operating hours (9:00 AM to 6:00 PM), you can turn off motion buzzers or push notifications while keeping background recording active. At night, automatically engage maximum detection enforcement with instant mobile notifications.
Troubleshooting Common Motion Detection Errors
If your CCTV system continues to produce unwanted alerts after defining detection zones, consider these targeted adjustments:
1. Nighttime Infrared (IR) Reflection and Insects
At night, security cameras switch to black-and-white infrared mode. Spiders and moths are drawn to the warm IR light emitted around the camera lens. When an insect flies close to the lens, it appears as a massive glowing white mass that triggers motion sensors. To solve this, clean camera lenses regularly with microfiber cloths and apply silicone spray to outer camera housings to deter web building.
2. Headlight Sweep Across Gates and Windows
Passing vehicles at night project sweeping light beams across dark gates and yard walls. Even if the road is excluded from your detection grid, the light cast onto your driveway inside the grid will trigger pixel shifts. Lower the night-time sensitivity by 10 to 15 points or enable Smart PIR detection if your IP camera hardware supports dual-technology verification.
3. Unstable Mounting Brackets
If a CCTV camera is mounted on a loose pole, thin sheet metal, or long arm bracket, strong winds will shake the camera body itself. When the camera shakes, every pixel across the entire image shifts simultaneously, causing continuous false alarms. Ensure all camera bases are firmly anchored to solid concrete walls or heavy steel structural posts.
Optimizing CCTV Storage with Event-Based Recording
Properly configured motion detection does more than reduce alert noise; it dramatically extends your surveillance storage capacity. If an 8-channel IP camera system records continuous 4K video 24/7, a 4TB surveillance hard drive may fill up in less than 5 days.
By setting your NVR to use Sub-Stream Continuous Recording combined with Main-Stream Event Recording, you get the best of both worlds:
- Sub-Stream (Low Resolution): The NVR records low-resolution video continuously without stopping, using minimal hard disk space.
- Main-Stream (Full High-Resolution): The moment a movement event occurs inside your configured detection grid, the system instantly switches to high-definition recording for the duration of the event.
This smart storage strategy allows business owners to maintain weeks or months of complete video history on standard hard drives without losing crucial high-definition evidence when incidents occur.
Frequently Asked Questions (FAQs)
Q1: Does clearing part of the grid stop the camera from recording that area?
No. Clearing grid squares only stops the camera from using that specific section to trigger a motion alert or event flag. If the camera is set to record continuously, full-frame video of the entire scene is still captured and saved to the hard drive.
Q2: What is the difference between Motion Detection and Line Crossing Detection?
Standard motion detection monitors pixel shifts inside a two-dimensional grid box. Line Crossing Detection (a Smart IVS feature) allows you to draw a virtual line across a boundary wall or doorway; an alarm triggers only when an object actually crosses that line in a designated direction.
Q3: Can motion detection work through glass windows at night?
No. Placing an IP camera behind a glass window at night causes infrared light to reflect off the glass back into the lens, blinding the sensor and causing constant false motion triggers. Outdoor cameras should always be mounted directly outside on exterior walls.
Professional CCTV & Security Solutions by NetBit
Designing a reliable, fault-tolerant surveillance system requires more than just hanging cameras on walls. It demands proper network infrastructure planning, high-quality Cat6 ethernet cabling, managed PoE switch configuration, and precise camera setup. At NetBit Software House & Technology, based in Khuzdar, Balochistan, our certified network and security engineers provide end-to-end IT infrastructure and security solutions for commercial facilities, offices, educational institutions, and residential properties.
Whether you need to upgrade your existing security camera network, configure intelligent IP storage systems, deploy outdoor wireless bridges using LiteBeam or PowerBeam technology, or establish enterprise-grade networking, netbit tech delivers dependable, high-performance technology installations. Contact netbit software house today to consult with our technical specialists and secure your enterprise with confidence.



Reader comments.
Share your question, suggestion or experience related to this article.
No comments yet
There are no approved comments on this article yet. You can be the first person to leave one.