
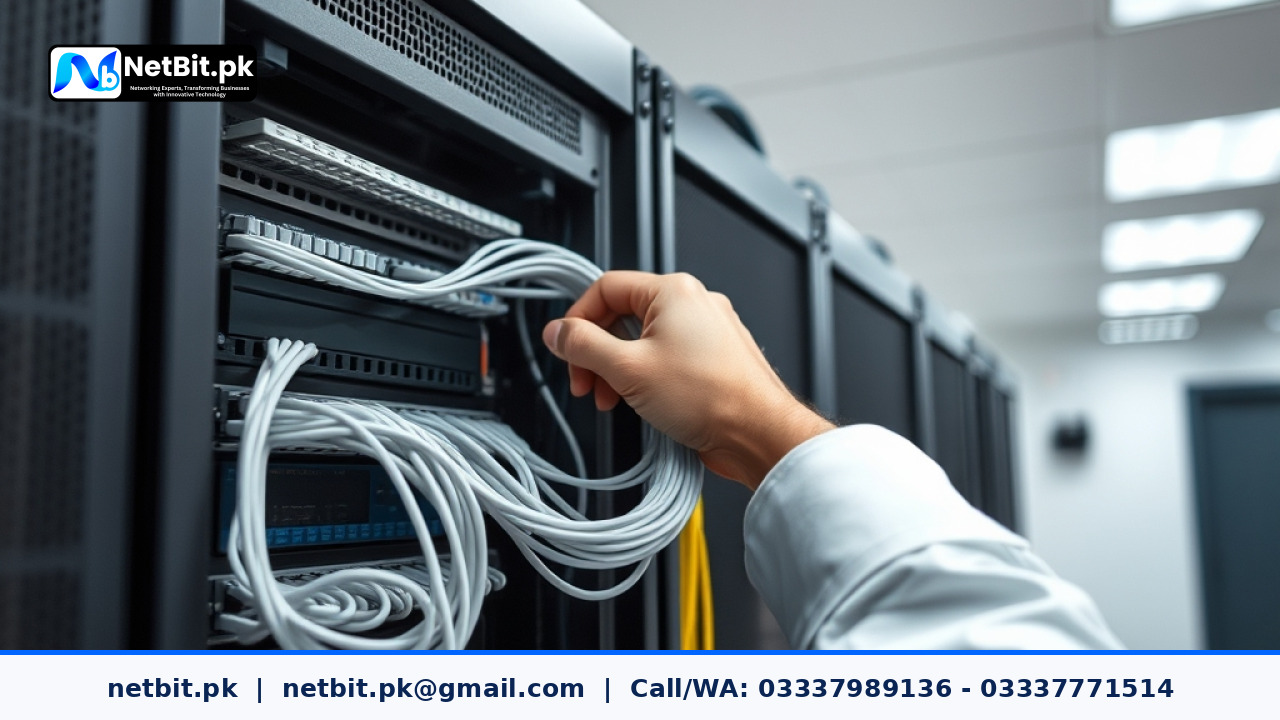
Understanding Fiber Patch Panel Installation in Modern Offices
Structured cabling is the backbone of any reliable enterprise IT network. Whether you are running a growing business in Khuzdar or setting up a multi-floor office in Pakistan, maintaining a clean and secure network rack is vital. Fiber optic cables provide high-speed data transfer over long distances with minimal signal degradation, but their fragile glass cores require careful handling. Improper mounting, sharp bending radii, or poorly organized fiber patch panels can lead to micro-bends, packet loss, and frequent network downtime.
At netbit, our networking experts frequently handle structured cabling layouts, Cat6 terminations, fiber patch cords, and enterprise switch deployments. In this tutorial, we will walk you through the proper, industry-standard method for mounting fiber patch panels inside standard 19-inch office server racks.
Tools and Equipment Needed
Before beginning the installation process, ensure you have gathered all necessary hardware and safety gear:
- Standard 19-inch server rack or cabinet
- 1U or 2U rack-mountable fiber patch panel (loaded with appropriate adapters like LC or SC)
- Rack screws, cage nuts, and a standard Phillips screwdriver
- Pre-terminated fiber optic patch cords or fusion-spliced pigtails inside a splice tray
- Lint-free wipes, optical cleaning pens, and a visual fault locator (VFL)
- Velcro cable ties for cable management (avoid using tight nylon zip ties on fiber)
Step-by-Step Guide to Mounting Fiber Patch Panels
Step 1: Plan Rack Elevation and Airflow
When placing equipment in your office rack, placement matters. Position your fiber patch panels near the top section of the rack or directly adjacent to your core switches and media converters. This minimizes the length of fiber patch cords needed to bridge connections. Ensure there is adequate vertical space for horizontal cable management organizers above and below the panel.
Step 2: Install Cage Nuts and Secure the Chassis
Locate the desired rack units (RUs) for your patch panel. Insert cage nuts firmly into the square mounting holes of the rack vertical rails from the inside. Hold the fiber patch panel flush against the front rails, align the mounting ears with the cage nuts, and secure them using rack screws. Tighten them evenly to prevent skewing the chassis.
Step 3: Manage and Route Incoming Fiber Cables Safely
Bring your outdoor or inter-floor fiber optic cables into the rack through the top or bottom cable entry points. Secure the outer jacket of the cable firmly to the rear strain-relief bracket of the patch panel. Never let the bare glass fibers bear any physical weight. If you are using splice trays inside the panel, ensure the protective buffer tubes are neatly coiled with plenty of slack respecting the minimum bend radius (typically 10 times the outer cable diameter).
Step 4: Clean and Connect Adapters
Dust is the primary enemy of optical networks. Before plugging any fiber connector into the patch panel adapters, use an optical cleaning tool or lint-free wipe with 99% isopropyl alcohol to clean the ferrule end-face. Gently push the connector into the adapter until it clicks securely into place.
Step 5: Bundle and Secure Patch Cords
Use soft Velcro straps to guide patch cords along the sides or through horizontal cable management rings. Never crush or pinch fiber patch cords with excessive force. Label both ends of every fiber cord clearly for future maintenance.
Best Practices for Long-Term Network Reliability
To keep your optical infrastructure running smoothly for years, follow these operational guidelines:
- Always maintain dust caps on unused fiber adapters and patch cord tips.
- Perform regular visual inspections using a VFL to check for light leakage caused by accidental pinches.
- Keep rack doors closed and locked to prevent unauthorized tampering or dust accumulation.
- Partner with professional technicians for complex fiber fusion splicing and testing.
Partner with NetBit Tech for Enterprise Networking Solutions
Designing and deploying a robust IT infrastructure requires specialized skills, precision equipment, and hands-on experience. Whether you need complete office structured cabling, high-speed wireless bridges like LiteBeam and PowerBeam, managed network switches, custom software development, or reliable CCTV surveillance installations, netbit tech delivers end-to-end excellence. Based in Khuzdar and serving clients across Pakistan, our team ensures your business stays connected, secure, and fully operational. Contact netbit software house today to discuss your next networking or IT project with our experienced professionals.


Reader comments.
Share your question, suggestion or experience related to this article.
No comments yet
There are no approved comments on this article yet. You can be the first person to leave one.